The Jealous Crumpet

A sweet little blog


12 Comments

Peanut Butter Pupcakes

Untitled-1 copySeveral months ago I had the opportunity to photograph Ms. Lacey, a sweet dog with lots of energy.  The shoot was for an article about homemade dog treats for the magazine Rocket City Pets.  So my plan was to create mini scenes, dress my friends dogs in costumes, place the treats on the plate in front of the dog and effortlessly get amazing photographs.  Sometimes I can be really naive.Untitled-3The idea for the shoot was a good one.  I wanted to create a birthday scene, with the pup cakes front and center, candles lit, and Lacey dressed in her birthday finest complete with a tiara and tutu.  I bought a tiara and custom fit it with elastic to stay on Lacey’s head.  I converted a tutu with a tie on the front so it would be easier to fit onto a dog.  I even got tissue paper balls to create a nice birthday feel.  But alas, “the best-laid plans of mice and men, often goes awry” to paraphrase Robert Burns.  This quote is nearly always true when it comes to photographing children or animals… and sometimes awkward adults.  Untitled-2Lacey was surprisingly blasé about wearing the tutu, but the tiara was really asking a lot.  Every time we would get the tiara on her she would shake it off and then we would put it on her again and she would shake it off.  We played this game for quite a while until Lacey gave up and let the tiara stay, but she wasn’t happy about it.  She turned her back to the camera, laid on the ground and sulked.  Her owner and I thought she might cheer up with a pupcake, and she did, immensely.  The problem was she LOVED them and every time her owner (human mother) would place one on the plate she would gobble it up before I could snap the shutter.  I got shot after shot of a blurry Lacey licking her lips after inhaling the treat.  There was also an alarming moment when we thought she had eaten the candle, which I at least had the foresight to not light.  I began to worry she would get sick after eating so many treats, and yet I didn’t have a usable image.  At this point I opted to photograph Lacey in front of an empty plate and Photoshop the cake into the image later.coverHere is the before and after shots.  I don’t usually do this much post-production work, but this just goes to show you even dogs get unrealistic makeovers for their cover shoots.

Below is the recipe to make your own peanut butter banana pupcakes.  I can’t speak for all dogs, but Lacey is a HUGE fan.

Also I wanted to give a shout out to Lacey’s adoption agency Two by Two Rescue in Helena, Alabama.  I don’t currently own a dog, but I am a big advocate for adopting rescue and shelter dogs.  If you get one half as sweet as Lacey you have hit the jackpot.lacey1


Peanut Butter Banana Pupcakes

1 cup peanut butter, divided

1 ¾ cups brown rice flour (for gluten-free) or whole wheat flour

1 cup milk

½ cup mashed ripe banana

1 teaspoon baking powder

1 teaspoon vanilla extract

2 eggs

1 teaspoon baking soda

1. Preheat oven to 350F. Lightly grease 12 regular-sized muffin tins or 36 mini muffin tins.

2. Combine ½ cup peanut butter and remaining ingredients in a large bowl; stir 2 minutes. Divide batter evenly among muffin tins, filling cups almost full. Bake 18-20 minutes for regular-sized cupcakes; 12-15 minutes for minis. Remove from pans and cool completely. Frost with remaining ½ cup peanut butter.

If you would like more dog treat recipes visit my other blog posts: Doggie Pumpkin Biscuits  and Oatmeal-Cinnamon Biscuits.lily8


15 Comments

Frushi {Fruit + Sushi}

feature1

I was 16 years old the first time I ate sushi. My friend Mandy had a car and with our new-found freedom we did what any rebellious teenagers would do and started experimenting with eating new foods.  I know, super hardcore.  Each weekend we would eat at a different restaurant and one weekend we found ourselves at Bubba’s Sushi Bar.  I have doubts about its authenticity (it was called Bubba’s), but it was Alabama and we had limited options.

We confidently told the waitress that we were here to eat sushi, but that confidence quickly dwindled when the waitress brought us a long list of sushi options and a little red pencil to place our order.  The list was overwhelming with words like and we were confused about how the portion sizes, surely it wasn’t $3.25 for 1 tiny roll.  We muddled through the order, selecting a couple of options that seemed safe.  We tried to watch other people to see how the whole sushi experience worked, but no one in our vicinity seemed to be eating sushi.  Despite being a “sushi bar” Bubba’s also sold burgers and barbecue, which was much more palatable to the North Alabama population.feature2

When our sushi arrived we realized we were out of our element and had no idea how to eat it.  There were all these neatly wrapped rolls, which we expected, but there was also thin, pink slices of some foreign.. vegetable.. maybe a fruit, a strange, green dollop of something, and an inexplicable, tiny, empty bowl.  Mandy and I re-consulted the menu, trying to decipher the various elements and figure out how to eat it.  We decided that the green blob MUST be avocado, like a guacamole for your roll.  I thankfully only tasted a little, but for anyone that has ever gotten a little heavy-handed with the wasabi a little can go a long way.

“That’s NOT avocado,” I choked, as the tears filled my eyes and my sinuses sprang open.Untitled-1


We finally admitted defeat and asked the waitress how to eat sushi.  She kindly explained each element, and showed us how to mix the soy sauce (THAT’S what the little bowl is for).  Now I eat sushi all the time and it seems ridiculous that I didn’t know how to eat it then.feature4


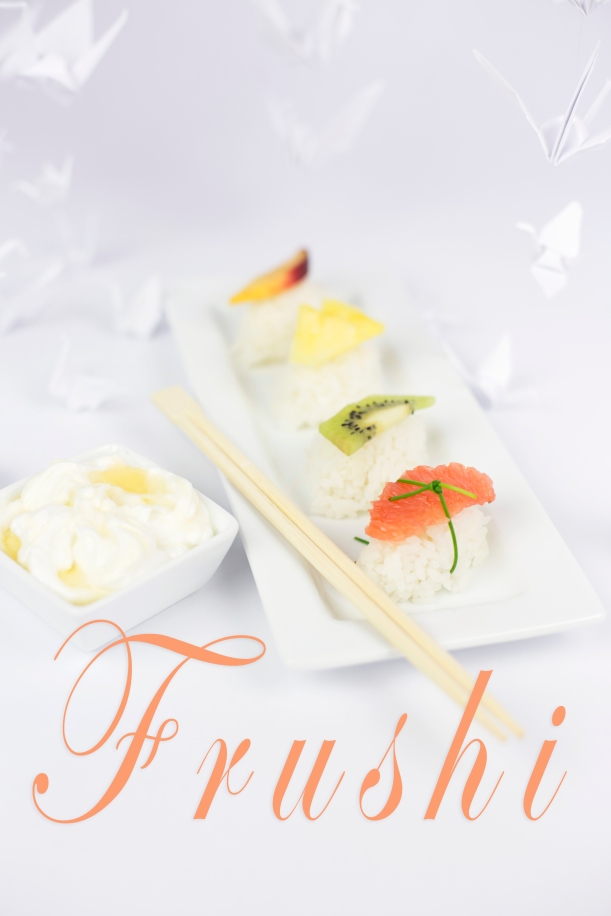
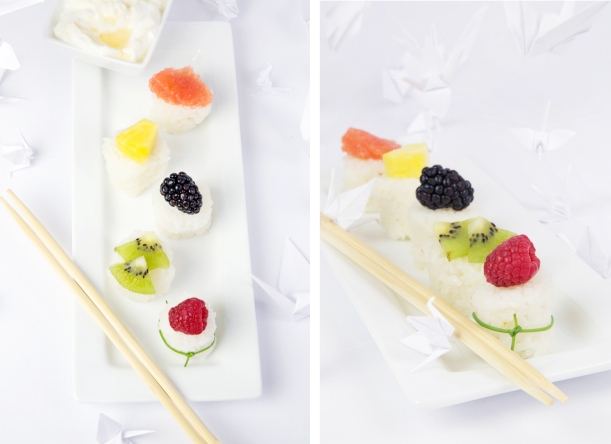
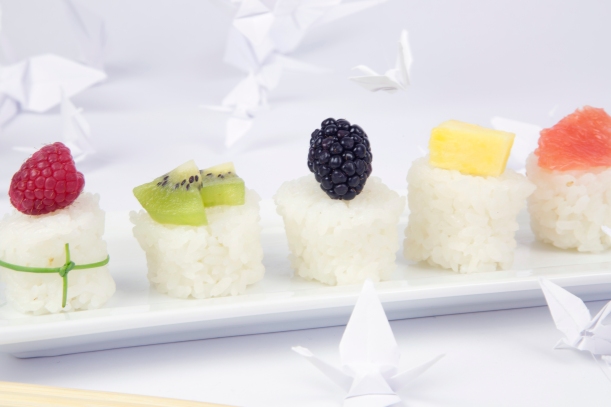
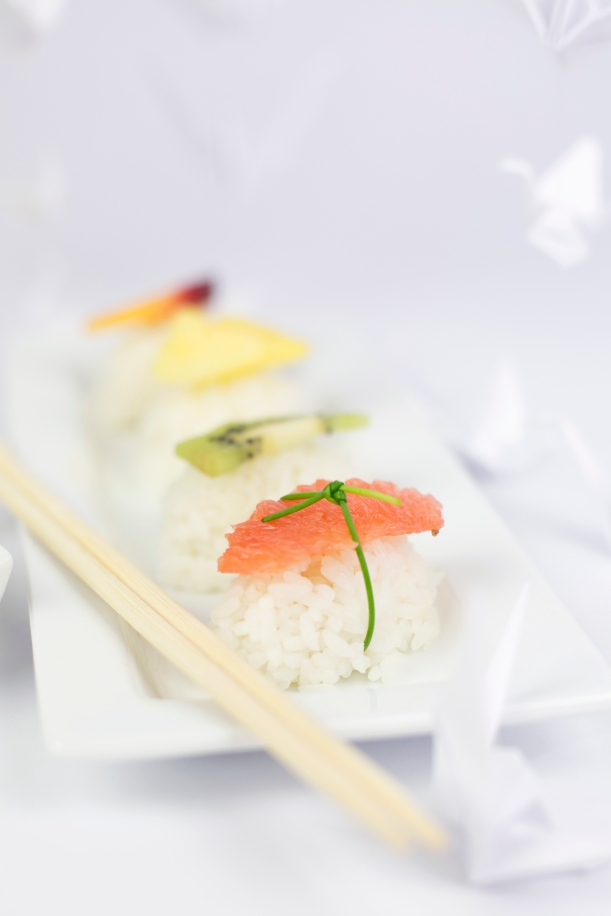
Here is a very lovely recipe for dessert sushi, frushi.  It’s a nice, fresh dessert, perfect for the spring.  The rice has cocoanut milk and is lightly sweetened.  I found it delicious just on its own.  Recipe Below.feature3


Fruit Sushi

1 cup uncooked sushi or other short-grain rice

1/3 cup sugar

¼ cup coconut milk

¼ teaspoon salt

Thinly sliced fresh fruit (suggested: kiwi, pineapple, strawberries, blackberries)

¾ cup plain yogurt

2 tablespoons honey


1. Bring 1 ¼ cups water and rice to a boil in a medium saucepan. Cover, reduce heat, and simmer 15 minutes or until water is almost absorbed. Remove from heat; let stand, covered, 15 minutes.

2. Place rice in a large bowl; add sugar, coconut milk, and salt. Cover and let stand 20 minutes.

3. Divide rice into 20 equal portions; shape each portion into an oval. Top with fruit. In a small bowl, stir together yogurt and honey. Serve as a dipping sauce with the sushi.

Can be made ahead. Just cover and chill until ready to serve.feature5

As always enjoy and bon appétit!


5 Comments

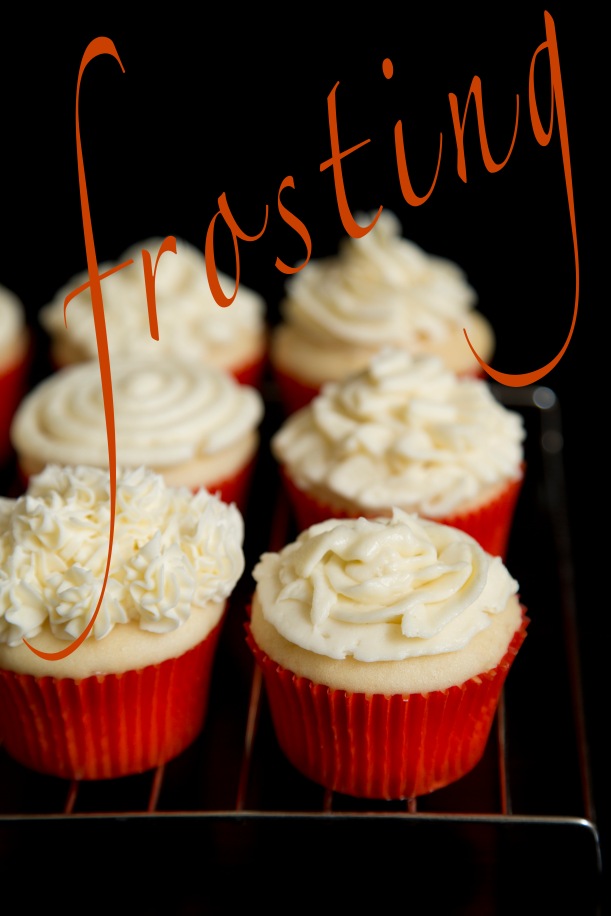
Frosting Cupcakes: The Lineup

4mug

I’ve been framed!

So the plan was to learn how to frost a cupcake.  I had never done it before, but in my complete naiveté I thought it be the easiest thing in the world… I was wrong.

The first thing I did was go out and buy the frosting paraphernalia: small frosting tips, triangle-shaped bags, little plastic cuffs to keep the tips on the bags, etc.  The second thing I did was watch YouTube videos about how to frost a cupcake.  On the very first video the instructor says, “Don’t bother buying the small frosting tips, as they are rubbish.”  Of course, I had already purchased the small frosting tips.  Not the most promising start but I pressed on.frostingI watch several videos of professional bakers effortlessly frosting cupcakes and assumed I too would be an expert.  If they could frost a cupcake in ten seconds the looked like a greek sculpture, I surely cup frost a cupcake in 30 seconds that was half decent.  So I started with a naked cupcake, fully expecting baking greatness to flow from the frosting bag.

1Y2B5016With my frosting bag placed over the nude cupcake, I gently squeezed  the bag and waited for the frosting to spring out and create a masterpiece, but nothing happening.  It was a pretty sturdy butter cream frosting, so I squeezed a bit harder, and still nothing.  So I furiously squeezed, bursting the bag, and catapulting  frosting across my kitchen and self.  Despite the butter cream explosion not one speck of frosting landed on the cupcake.  I hadn’t bought many frosting bags, so I had to duct tape the bag together.

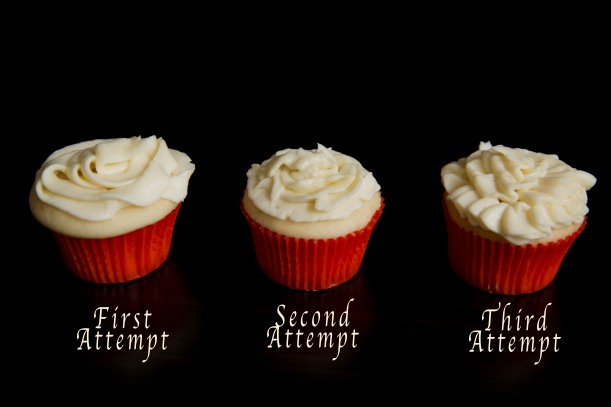
1Y2B5033At this point I got a glass of wine and sat down to watch a couple for YouTube videos.  With my duct-tapped frosting bag, 8 or 9 frosting videos under my belt and a slight wine buzz I felt ready to give frosting a second attempt.  I’ll admit that though I managed to get frosting to come out the of tip, rather than the side of the bag, my first few cupcakes were terrible.   I have included photographic evidence of my progression.

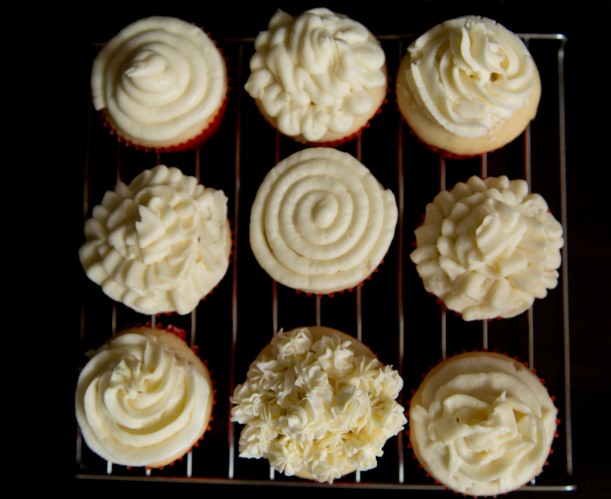
1Y2B5024I then practiced with each tip (the small tips ARE rubbish) until I was pretty satisfied.  I intended to have sleek-looking videos to show how to frost the cakes, but there was far too much swearing, tears and wine drinking to be acceptable for the general population.  Here are some stills of the start of the cupcakes with various tips instead.

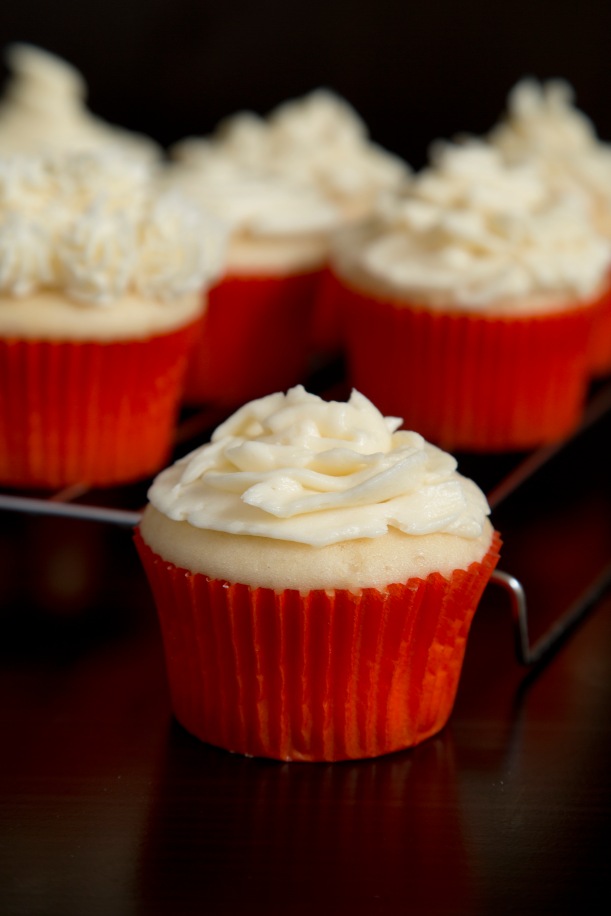
1Y2B5123In the end I had 4 distantly different looking cupcakes, which I was perfectly happy with.  It retrospect the wine may have helped with my satisfaction level.  About an hour after I finished the cupcakes I also noticed that I had managed to get large amounts of frosting on the back of my head.  Not really sure how, just one of the many joys of baking.

1Y2B5092The recipe for the butter cream frosting is very simple, but probably shouldn’t be consumed if you have trouble with sugar as it has 6 cups of sugar in it.

1Y2B5043Butter Cream Frosting

2 cups (1 lb) unsalted butter, softened
6 cups powdered sugar
1/2 teaspoon salt
2 teaspoons vanilla extract
2-4 tablespoons milk

Beat butter with an electric mixer on medium speed until creamy. Gradually beat in powdered sugar. Beat in vanilla and enough milk to reach desired consistency. Spread or pipe onto cake.

Enjoy!!!1Y2B5052


17 Comments

Girl Scout Cookie Challenge: Thin Mint Covered Pears

together2Tis the season, Girl Scout Cookie Season that is.  It’s similar to Christmas in that you have to shell out funds every time you walk into a retailer, grocery store, gas station, etc. etc. but instead of shoving a dollar into a red bucket for a half-hearted ‘thanks’ you shell out $3.50, but you also get cookies…  and you make some kids happy, but seriously it is really about the cookies.

I don’t have kids of my own, so I feel very comfortable disappointing children.  I’ll give money to charities that I feel are worthy, but just because a cute face is peering up at me I’m not going part with my cash so some 8-year-old can go to Europe.  And there is no way I am letting a kid wash my car for charity.  As I child/teen I participated in these fund-raisers and I can tell you we did a terrible job washing cars, and honestly probably damaged some in the process.

But Girl Scout cookies are amazing, so if I make some child happy by purchasing cookies that I want anyways, that is an added bonus.thinmintsIn fact, the Girl Scouts is a great organization, and I have many friends that still talk fondly of their days as a scout.  The Girl Scout’s mission is to “builds girls of courage, confidence, and character, who make the world a better place.”  How can you argue with that.  Plus most of the cookie sales (after they pay the bakers) goes back  into the organization, and the cookies themselves are kosher, with no trans fats, and conflict free cocoa.For this post I again paired up with Dirt Plate to create a recipe using Girl Scout cookies.  Dirt Plate has 2 daughters in the Girl Scout origination, and they have been selling cookies like crazy.  So to celebrate the winding down of cookie mania we are both cooking with cookies.  “Cooking with Cookies”, now that would be an awesome blog.  Someone out there start that.  I just want credit for coming up with the name.  (emoticon winkey face)thinmints2

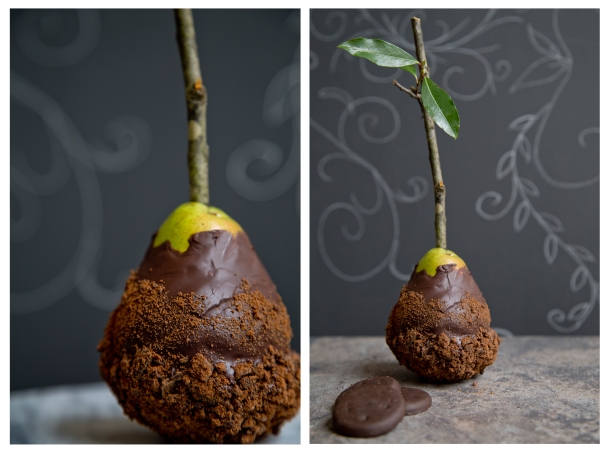
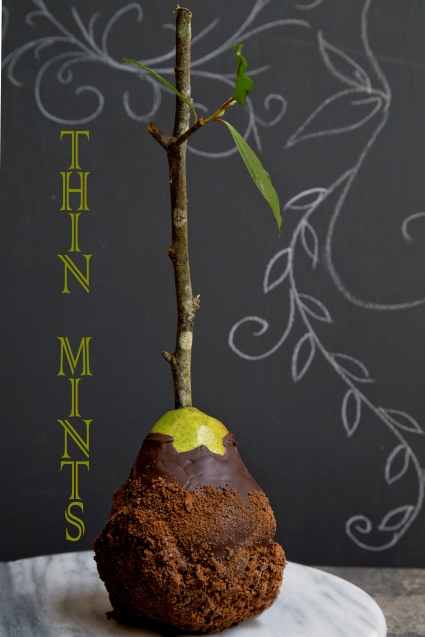
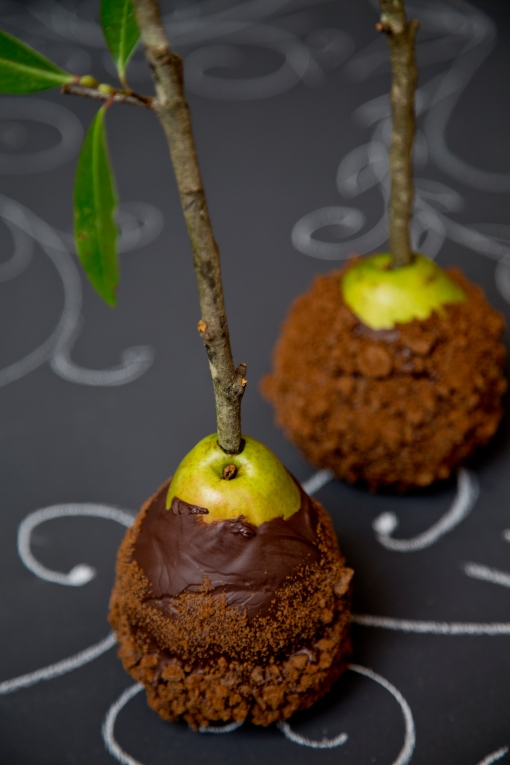
Christi of Dirt Plate out did herself this week with beautiful Thin Mint Muffins.  I will definitely will be trying her recipe out this weekend.  Go check her recipe out for yourselves.pears1I’m partial to thin mints, especially frozen (yum), so I made thin mint chocolate covered pears.  I thought pears were a nice change from apples, which I did last week.  Plus pears with chocolate are delicious!pears

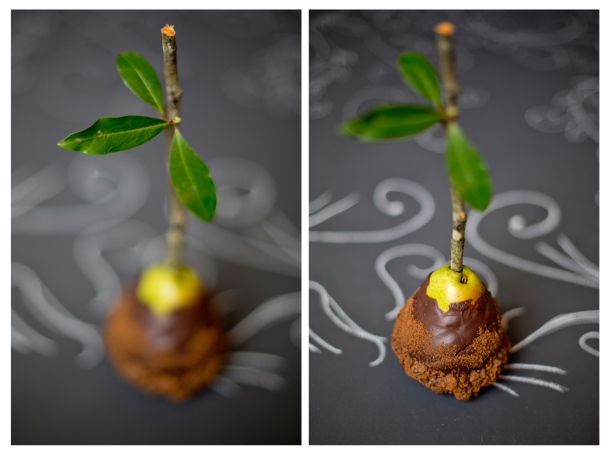
In my caramel apple post I totally forgot to buy craft sticks, so I had to cut branches out a tree mid-way through the recipe, but it turned out pretty nice.  I thought I would try it again with the pears.  This time I was able to get a branch with a little leaf on it which was an added bonus.  The incredibly easy recipe below.cookies

Thin Mint Chocolate Covered Pears

4 cleaned branches from a nonpoisonous tree OR 4 craft sticks

3 Pears

1 (7 oz) tub dipping chocolate (Baker’s)

Peppermint Extract-You can also make your own extract with a recipe from Dirt Plate.  Check it out!

15 Thin Mints-Throughly crushed

Insert cleaned branched into the stem end of each pear.  Melt the dipping chocolate per its instructions and after it is melted add 6 drops of peppermint extract and mix into the chocolate.  Immediately dip pear into the chocolate for a nice even coat.  (As you can tell from the photographs I did not get a nice even coat, but a thick lumpy coat. It still tastes good, but it isn’t as pretty).  While the chocolate is still melty roll in the crushed Thin Mints.  Place on a baking sheet covered with parchment paper and let cool thoroughly.

Enjoy knowing you made a girl scout happy, unless you don’t like children and then just enjoy!Untitled-1

For other fruits on sticks and Girl Scout Cookie inspired recipes check out my: Samoa Caramel Apples.

7 Comments

Girl Scout Cookie Inspired: Samoa Caramel Apples

together2

You will love these as much as your dentist will hate them!

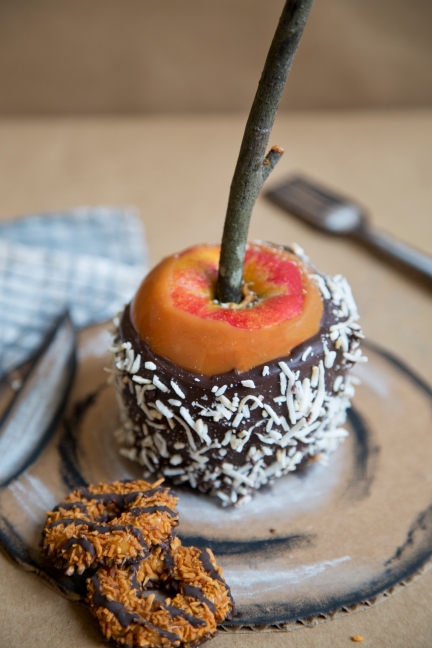
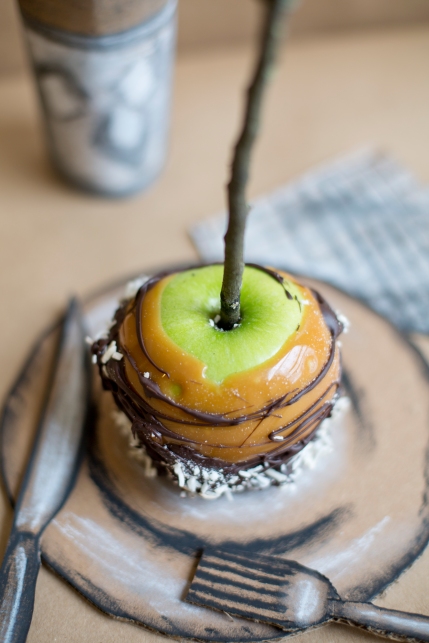
I never reached full-fledged girl scout status, but for a couple of years I was a brownie with a bad attitude.  I liked the crafts (who doesn’t love making Christmas ornaments out of tuna cans) and hanging out with fellow brownies, but I HATED the uniform.  Actually I hated two specific parts of the uniform: the brown, elastic-waisted, polyester pants (I mean come on, we were 6 not 60) and the felt beanie.  Thank-fully I had the fashion option to wear the polyester jumper, rather than pants, but I was obligated to wear an inane beanie at various Brownie functions, which at six-years old was a devastating experience.  I was a bit of a diva then.  I hated it so much that after a year of enduring a brown, felt bowl on my head, I begged my mother to let me retire from brownies.  Alas, she was a co-leader and there was  no way she was going to suffer through selling cookies, organizing crafts and going to weekly meetings without me suffering as well.  So for another year I endured the mud-colored skullcap and my mother enduring me whining and complaining about it. Here is a photo of me sulking before a parade, and yes, I’m sulking because I have to wear the beanie.  Bless my parents for having to deal with such a drama queen.blogpic46 I actually think Girl Scouts is an amazing organization.  Don’t be a diva ladies, you will miss out like I did.  Right now is Girl Scout cookie season, so I have paired up with DirtPlate to create a post about Girl Scout Cookies.1Y2B4725My favorite cookie then and now is Samoa cookie.  It has everything wonderful in it: caramel, chocolate, coconut, and deliciousness.  I used the Samoa as my inspiration for caramel apples.  They were almost as amazing as the cookie.togetherGirl Scout Inspired Samoa Caramel Apples

5 wooden craft sticks or you can be like me, forget to buy the sticks and have to cut branches out of your tree in the front yard.  Looks cool, but make sure you don’t pick a poisonous tree.  

4 medium apples, washed and dried  

Cooking spray  1 (11 oz) bag caramel bits (Kraft)  

2 tablespoons whipping cream  

1 (7 oz) tub dipping chocolate (Baker’s)  

1/2 cup toasted coconut (toast coconut by spreading flaked coconut on a baking sheet and bake at 350F for 6-8 minutes. It burns quickly {seriously, it can burn in 5 to 10 seconds so watch it closely} let cool)

Insert wooden craft sticks into stem end of each apple. Line baking sheet with wax paper or parchment paper; spray paper with cooking spray. Place caramel bits and cream in a medium saucepan. Cook on medium-low heat 3 minutes or until completely melted, stirring constantly. Dip apples into melted caramel, spooning caramel over apples. Allow excess caramel to drip off. Place apples onto prepared baking sheet. Refrigerate 1 hour. Melt dipping chocolate according to package directions; drizzle chocolate over apples. Immediately sprinkle with toasted coconut.1Y2B4746Recipe Options 

Options-Mix the coconut into the hot caramel and then dip in chocolate once caramel is cooled.

1Y2B4749

Each recipe options look different, but they all taste amazing.

Options-Dip the caramel apple in the chocolate, then sprinkle with toasted coconut.

1Y2B4707

Behind the Scenes

1Y2B4686

When you have a limited budget, just make your set out of cardboard. 🙂


4 Comments

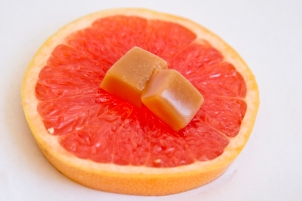
Pamplemousse {Grapefruit} Caramels

featuretextWhen I told people, that I was making grapefruit caramels for this week’s blog post the reaction was the same: gross.  I’m not really sure why, but the combo of caramel and ruby-red didn’t sit well with people, so I pulled a classic re-branding tactic and gave the caramels a french name, pamplemousse caramel, which translates to … grapefruit caramels.  People now thought the caramels sounded lovely and elegant and insisted I save some samples for them.1Y2B4110There are many desserts that we view as gourmet because of their french namesake.  If we renamed them with their english equivalents people would probably be less impressed.feature3For example, creme brûlée which is a staple of the fancy eating translates to burnt cream.  I can tell you if I saw burnt cream on a menu I would be hesitant to order it.

Petits fours translates to small oven because they were traditionally made in small ovens, which is interesting, but it is definitely less classy to order a small ovens, rather that petits fours.

My (french) husband loves these cookies called langues-de-chat.  Pretty name, which translates to cat tongues.  Less pretty in anglaisaWhether they are called grapefruit or pamplemousse caramels, they are delicious.  I was worried about making them because I had never made caramel before having to get the exact correct temperature seemed a bit more complex than my laissez-faire cooking style could handle.  But I prevailed and the caramels turned out really well.1Y2B4244


Pamplemousse {Grapefruit} Caramels

5 tablespoons butter

1 cup whipping cream

¼ teaspoon salt

3 teaspoons grapefruit zest-If you don’t like grapefruit you can use any citrus zest.  

1 ½ cups sugar

¼ cup light corn syrup

¼ cup water

1. Line an 8 or 9 inch square baking pan with parchment paper. Lightly grease paper.

2. In a saucepan, heat butter, cream, and salt; bring to a boil. Stir in grapefruit peel.

3. In a heavy bottomed saucepan, mix sugar, corn syrup, and water. Heat to boiling over medium-high heat. Do not stir. Boil until a candy thermometer reads 310F (sugar will be a golden amber color).

4. Add cream mixture and whisk until thermometer reads 248F. Pour into pan; cool completely. Cut into squares.feature


1Y2B4175

Behind the Scenes Shot 

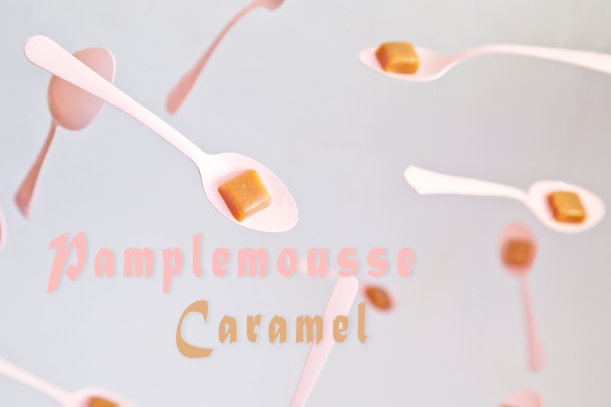
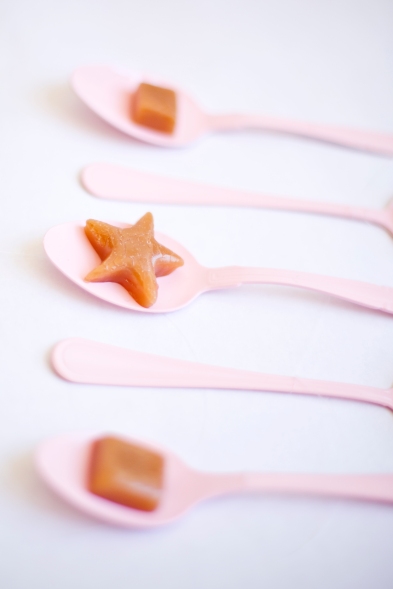
People often ask me about my studio.  I think they envision a slick, brightly lit location, with lots of props, windows, and photography equipment.  Sadly my ‘studio’ is my very small living room, which does have nice light, but little else.  I often have to come up with creative ways to create different looks with almost no budget.  That keeps it interesting though.  This week I bought $2 worth of thrift store spoons, painted them pink with $3 spray paint and hung them from fishing line.  Voilà! Flying spoons for the bargain price of $5.behindscenes